The success of building a lighting valence in the configuration of a clerestory roof seems to be hinging on a big “if”. The roof curves from the front to the sides. And building this will require bending wood! The success of the valance hinges on if I can bend wood. Bend wood! Geez, that like goes against nature, bending wood.
I looked around the net and found some cool how-to videos on bending wood using steam. They're amazing. Oh I gotta bend wood. How cool would that be!
Roaming around a home improvement warehouse, I was able to MacGyver together an inexpensive steaming rig. I found some 3” flexible tubing that has a wide enough diameter to accept the 2” lumber that I'm going to need to bend.
Somehow, I need to attach that tubing to a big 'ol kettle that I will be using to boil water with on my stove. What I found was a roof jack. Roof jacks are used for rooftop vents. They have a flat base with a pipe coming off it. Because they are made for the pitched roof of a house, the pipe comes off the base at an angle. So when I lay the base over the kettle the pipe will angle away from the stove. That pipe has a 3”diameter, same as the tubing!
The tubing section had all sorts of attachments for these tubes, one of them being an insert to attach these tubes together. It fits perfectly in the roof jack pipe and the tubing, connecting them together.
Then I duct taped the heck out of the whole thing the keep it together and help keep the steam from leaking out.
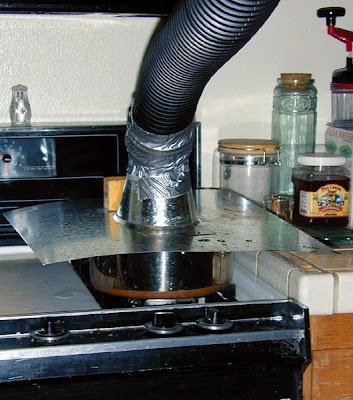
Here you can see the kettle on the stove with the roof jack covering it. The black flexible tubing is attached to the roof jack with duct tape.
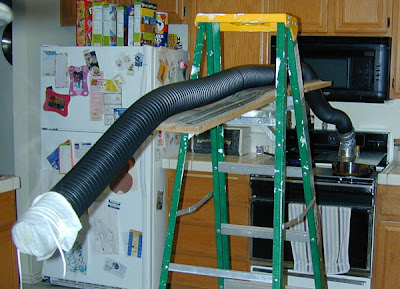
From the stove the tubing lays on a plank supported with a ladder.
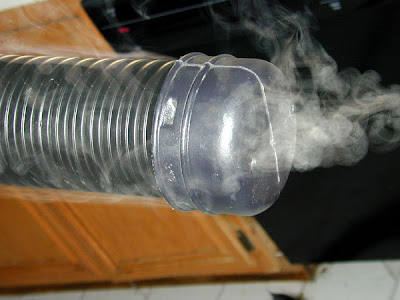
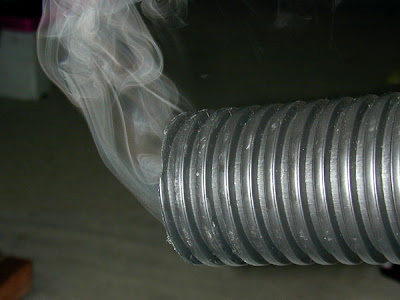
I went back to the store and got this cap that has a couple of holes drilled in it to try to keep more steam in the tube
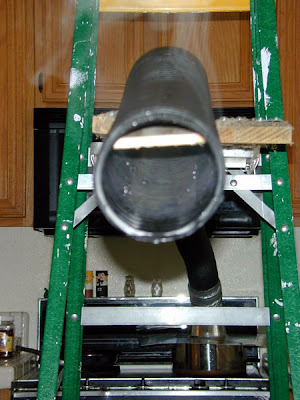
In this shot you can see the 1/4” x 2” lumber inside getting steamed. The rule of thumb is about 20 minutes steaming per 1” thickness, but I ended up steaming them for a lot longer.
Next comes time to actually bend the wood, keep your fingers crossed! Yessir! Keep your fingers crossed!

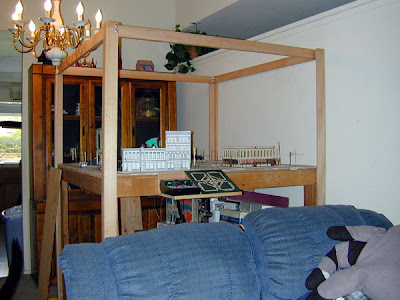 The frame is now built. I used 1 ½” x ¾” and 2 ½ x ¾” to construct the four corner posts. A 2 ½” x ¾” connect two of the posts at the top to create a side assembly. And another matching side assembly is built in the same manner for the opposite side. These two sides are connected together with two more 2 ½” x ¾” using lag bolts and wing nuts to allow the unit to be broken down for transport.