Showing posts with label Shapeways. Show all posts

Monday, March 09, 2026

Backesto Block Bldg. ~ Gettin' My Kicks Printing Backesto Bits

 The Backesto Bits Sprue has Returned from the 3D Printers!

It took many tries, many revisions, (and many dollars!) to get it to pass the printers standards. But it's finally done! 


Despite following the printers minimum standard of 1mm thicknesses, they pushed back a lot on how delicate the whole thing was. After a lot of back and forth and many revisions, I eventually figured out that their "Fine Detail Plastic" could handle the delicacy. But of course that is their premium plastic and cost a freakin' fortune to print- $272.39!  I could have bought an actual 3D Printer for that kind of money (I'm looking in to it now.). But this has been going on for too long now so I bit the bullet and ordered it. Live and learn. Yes sir- live and learn.


But man- you can't beat that detail! This printed beautifully. The finished model should be ridiculously realistic!

Yes sir!

Ridiculous!

Dandy

Monday, July 04, 2022

SDERy Class 1's in H.O. Scale!

 West Coast Traction Supply's H.O. Scale San Diego Electric Railway Class 1 Streetcar Shell.

A beautifully designed 3D print kit of this historic car.


I got my wish! Andrew Chier saved me a lot of trouble by designing and 3D printing an H.O. scale model of San Diego Electric Railway's Class 1 streetcar for sale soon on his West Coast Traction Supply shop on Shapeways.


Some assembly required. But it goes together easy enough. Just make sure (unlike I did) that the upper portion of the center divider that is printed with the roof corresponds with the enclosed half of the car (the half with the smaller windows). Though I don't know if the center divider will be able to fit with the drive. We shall see when I get to that part of construction.

Some filing on the prints was required to smooth things out.  Then the parts were cleaned with Dawn dish soap and a sonic toothbrush to remove any oily residue that would prevent paint from sticking to the model.

This is the first time I've built a model with super glue.  I've been weary of using super glue since it can shatter in freezing temperatures. But nobody seems to be having that problem, so I went for it.  After it was all built and looking good I airbrushed on a couple coats of primer. Since the model will be painted a light color (yellow) I used a light primer.

Next comes painting. I'll be painting this car in San Diego's mahogany and golden yellow paint scheme.

Yes sir! Colors!

Dandy

Monday, October 04, 2021

For Justice and Glory!

 Anybody Remember the Keystone Cops?

I thought it would be funny to model them.


The Keystone Cops (often spelled "Keystone Kops") are fictional, humorously incompetent policemen featured in silent film slapstick comedies produced by Mack Sennett for his Keystone Film Company between 1912 and 1917  -  Wikipedia

After the demise of Jordan Highway Miniatures vehicles I started looking around for other period models. This Model T Ford is a 3d print from Robert Sprague 3D Designs on Shapeways. It's not as fine of a model as Jordan but I wanted to see what I could do with it.

Tru-color paint was used for the black.  But the Floquil metallic paint used on the radiator and other details turned out too glittery for my taste. It works fine on tiny details like the hubcaps, but the broad expanse of the radiator and even the marker lamps is too much. A brass colored paint would look a lot better for this.  As is typical of 3D prints the model has some visible strata from the printing process and some details are oversized to meet the 1mm minimum thickness.  
But truth be told- I'm trying to get G scale results with HO scale models with this ultra close-up photography I'm doing. But really the model looks just fine when observing the scene when standing next to the layout.

So it is what it is.  When it comes time to populate my layout with automobiles I'll reassess this model to see if I'll use it or not.  And then I called the Model T project finished for now.


Then, while researching something unrelated, I came across this production still from a Keystone Cops flick.  "Hm! I wonder if I could model that" I wondered to myself . "Well... I do have that Model T model and covering it with cops would hide most of it defects" I replied to myself. "Ah- but what about all those cops" I countered, "nobody manufactures HO scale cops like that". Darn! I was right. I was defeated. Until I came across this:  
 
Preiser Unpainted Firemen. The uniforms are really similar and they even have those helmets like the Keystone Cops! Well what do you know?  Everything fell into place. This is a feasible project after all. Well I gotta do it now!

Trying out different figures to see where and how many I can fit.

The 12 selected figures were primed with Tru-Color grey primer.  Then they were painted with FolkArt craft paint. Not as nice as model paint but effective. The buttons and badges were painted with the same Floquil Brass glitter paint as the automobile. 

The Walrus Moustaches are a must!  Now its time to see how many of these guys I can fit in the auto.

I really didn't expect to fit them all in- but they all fit in! Well technically the 12th one isn't IN the car but is running to catch up.

Here is the photo set-up. My phone that I'm taking the pictures with doesn't fit under the overhead wires. So it is laying on a cardboard tube cut to length to keep the phone just above the wires. Under the camera lens is a First Surface Mirror set a 45 degree angle aimed at the scene. A flashlight is illuminating the "sky".

And voila! The completed scene.

I might revisit this at a later date. Add some billy clubs to their hands. I'll see if I can introduce the appearance of speed. Maybe turn those front tires so its making a hard turn and introduce some lean to the suspension. I'll take a look at those Artitech Model T's when they become available again.

But for now I'm satisfied. I think this photo is hilarious.

Yes sir- hilarious!

"Good job Dandy"
"Awe thanks Dandy"

Dandy

Monday, June 07, 2021

Horsing Around

 Horse Trading and Harnessing

Comparing HO scale harnessed horses and adding duct tape reins. 


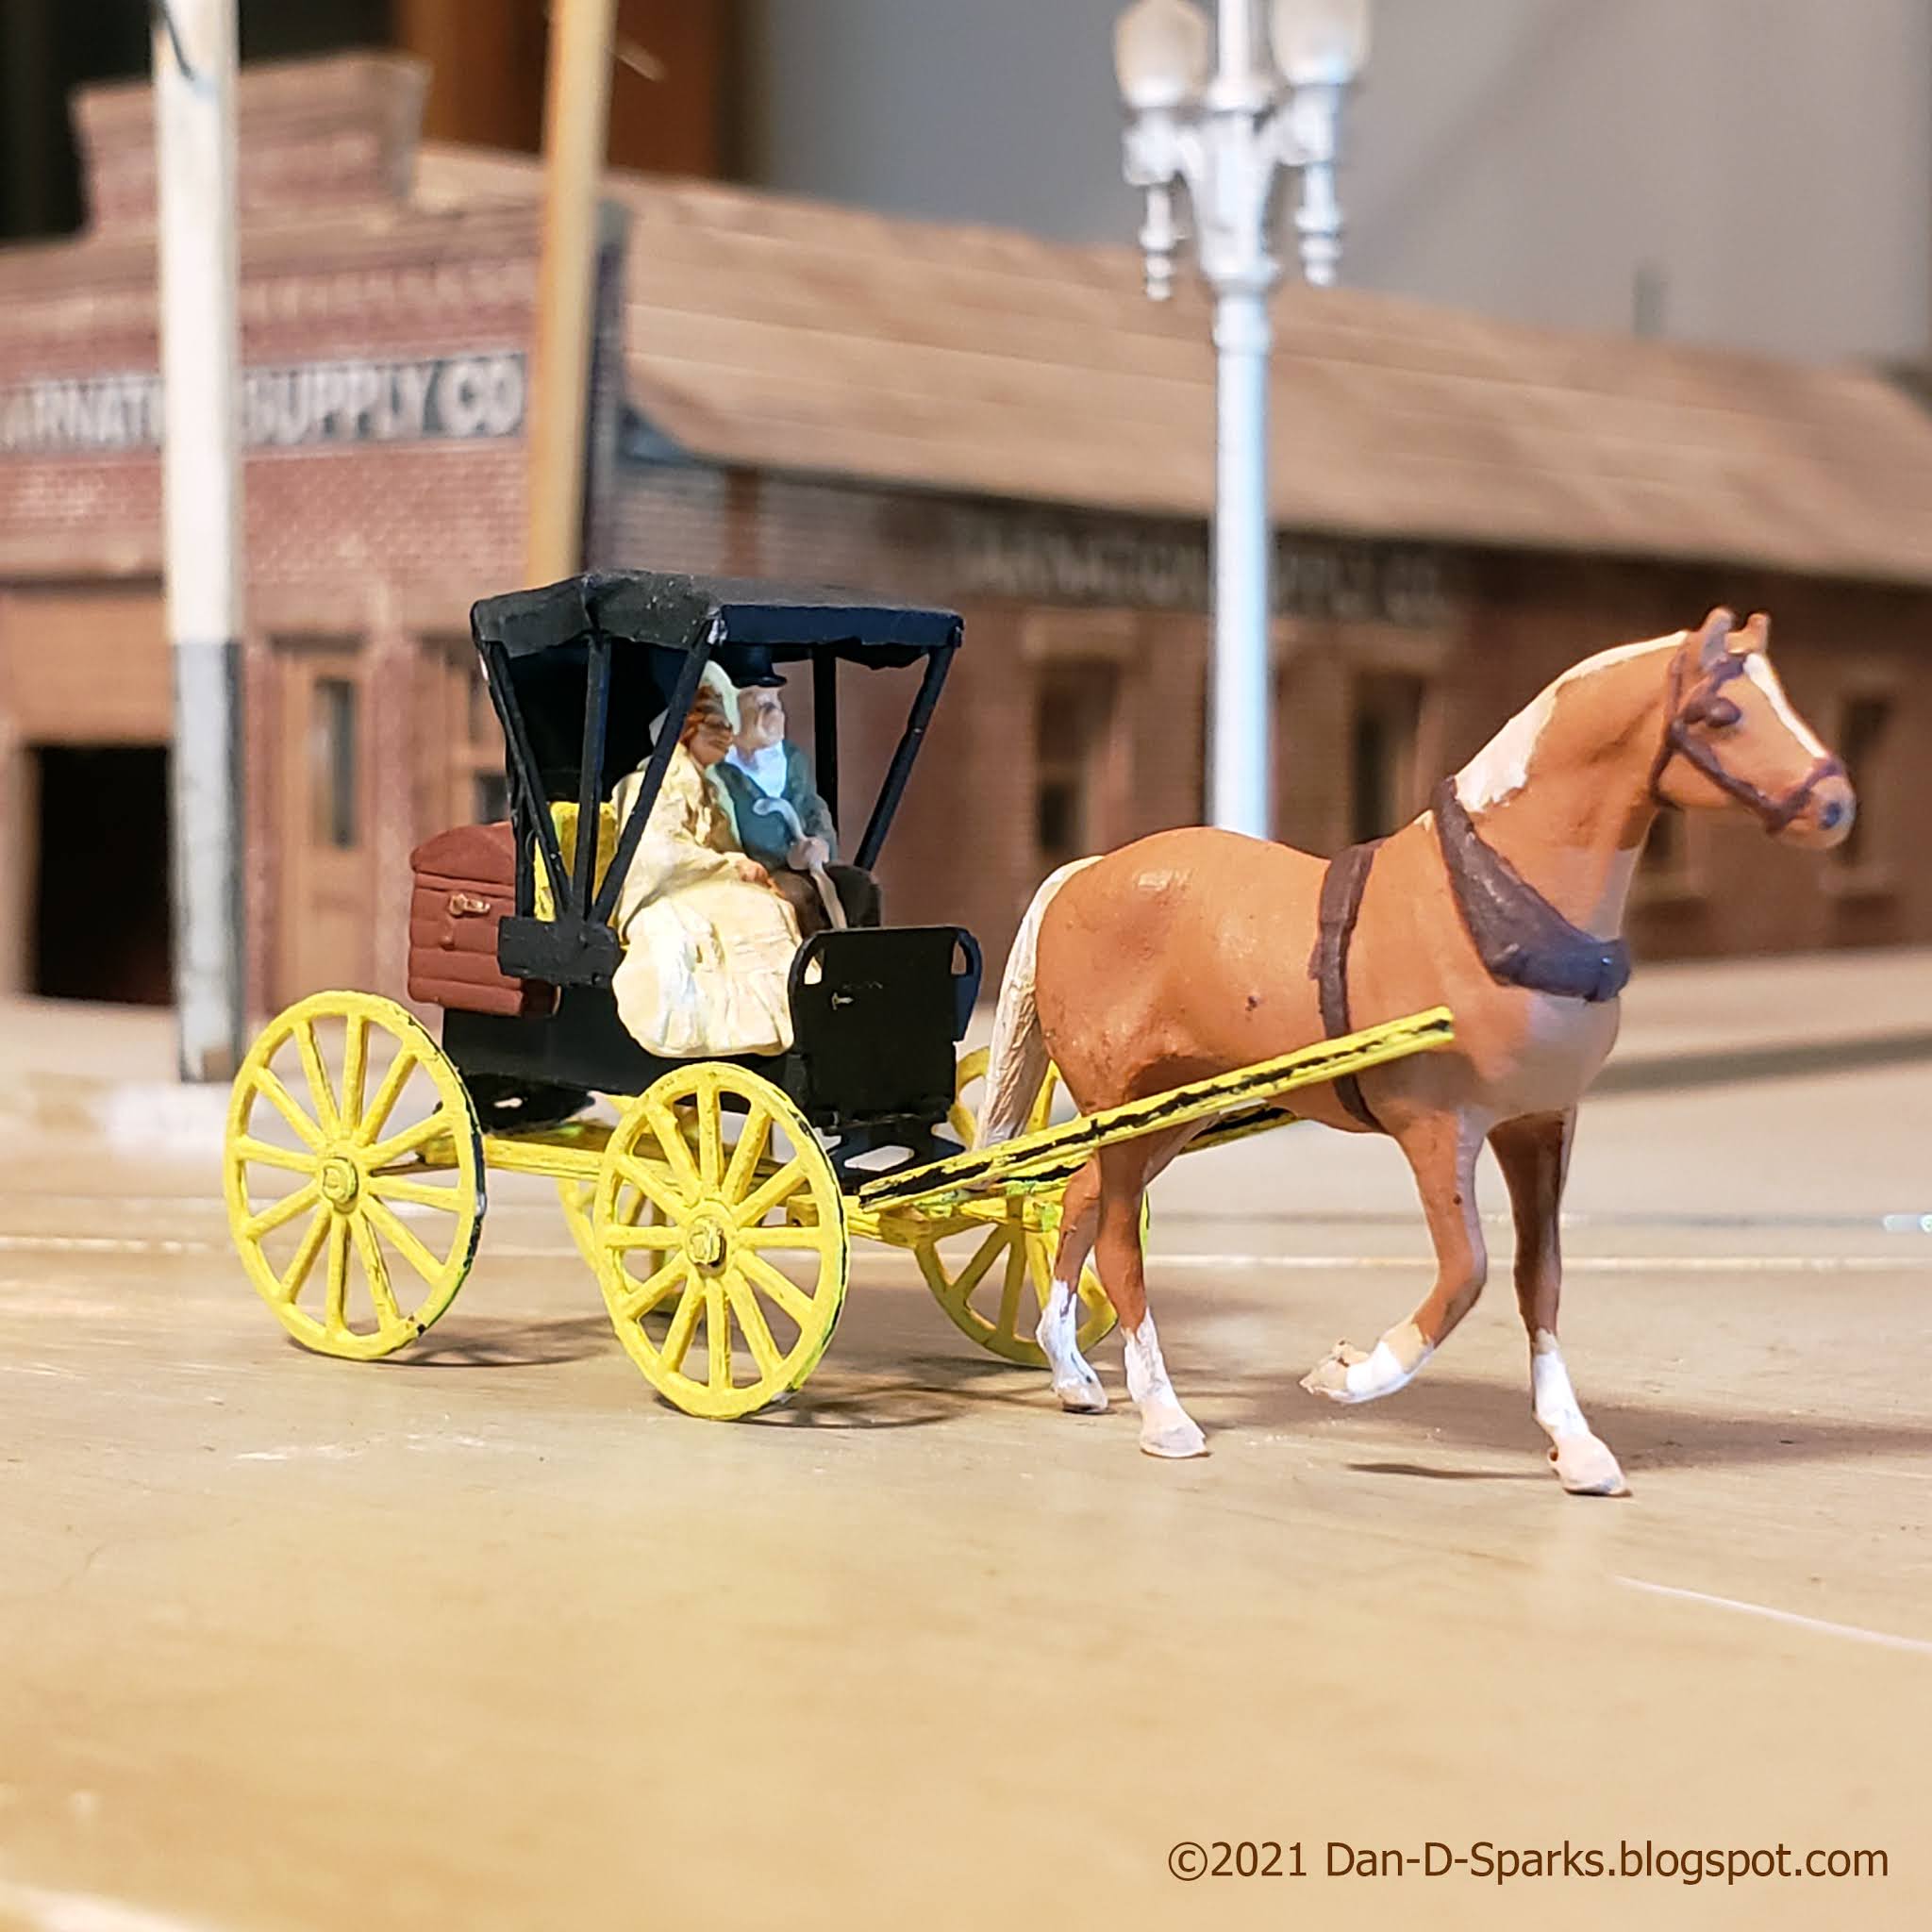
After finishing construction of the Berkshire Valley Models Buggy (right) I needed to add a horse. But the horse that Berkshire Valley offers (left) is rather heavily harnessed for such a light buggy. So I looked around at other HO scale harnessed horses.

It wasn't until after I ordered horses from Knuckelduster Miniatures that I noticed that their horses are identical to Berkshire Valley's horses! (They do come in two poses though). So choices are limited. Taking a look at the Jordan Highway Miniatures (out of biz sadly) horses (left) I noticed that they are more lightly harnessed. So I swapped out the horses with the Highway Miniatures Delivery Wagon since heavier harnessed horses would work better with that.

So I painted up the Jordan horse and attached it to the buggy. But after the previous blog post, the lack of reins bothered me. I considered different materials for the reins (thread?, tiny brass or styrene bar?) But as I was repairing a black leather seat with black duct tape it occurred to me this might make for great reins material.

I laid a piece if duct tape on a piece of glass and sliced off a very thin piece.

And stuck it on. The bottom and sides of the duct tape is white, so a little touch-up paint is required. But I really like the leathery look of the duct tape. Note to self: start with the driver and work towards the horse. Its easier to trim the reins at the nose of the horse rather than inside the buggy.

It was a little tricky installing the reins. But it took me longer to write this blog post than it took to install the reins, so... yeah. But I'm pleased with the results. We'll see how this holds up long term.

It occurred to me that duct tape might be a viable way to add harnesses to ho scale farm horses like these from Woodland Scenics. Then we can press these guys into service! (Except for the pony of course - I'm not heartless!)


Then there are also some well done draft horses available on Shapeways. I'll probably give these a try at some point.
So there are some good options out these these days for a variety of harnessed horses.

Yes sir! A good variety of horses these days!

Dandy


Monday, November 05, 2012

Junction Tower 3d Print from Shapeways

It's here! All the way from the Netherlands, My first 3D Print!

I don't remember the last time I felt this excited about finding a package left by UPS. Lets tear it open!

Whoops! I goofed on the dimensions. This is actually the right size for O Scale, not HO. No wonder is cost so much! Despite that flub though, this is very exciting. I've built hundreds of objects in the computer over my 20 year career, but this is the first time I've actually held one in my hand. The detail is all there, and it smells exactly like dirt! But unfortunately, as you can see, the post is warped. And I'm not sure why this happens or how to prevent it with future prints. Maybe the smaller (HO scale) size will eliminate that.

Here you can see the texture inherent in the layering process of 3D printing. This model was printed with Shapeways "White Detail" material.  Costs twice as much but it has a better finish than "White, Strong, and Flexible".

Okay, I've scaled the 3D drawings to the correct scale, and made some adjustments. There is a 1mm minimum thickness requirement, so I had to thicken up some of the details. This time I sent it off to Volkmars weapon of choice: i.materialize in Belgium. So we'll see what materializes. Yes sir! We'll see what materializes!

Dandy

Monday, October 22, 2012

Jumping on the 3D Printing Bandwagon!

Encouraged by the fantastic results Volkmar Meier has been achieving with Rapid Prototyping, Additive Manufacturing, Stereolithographic 3D Printing, I have decided to give it a go myself.

I was approached by Shapeways years ago inviting me to try out this emerging technology of 3D printing. Looking into it, I wasn't impressed with how rough the 3D prints were. So I dismissed it for the time being. But the technology has marched on and 3D prints are looking really nice these days!

Volkmar's blog, Interurban Railways, chronicles very nicely his construction of a Terre Haute, Indianapolis & Eastern wooden combine, from a 2D drawing, to a 3D render and then finally an actual 3D Print model. There is still a slight texture to the finished model, but once painted, its hardly noticeable. His work has embolden me to finally give it a try.


But before building something as elaborate as an interurban though, I thought I would cut my teeth on a bite-sized project first. I've been wanting to build a model of these inner city junction towers for quite some time now. I even started building one out of brass seven years ago, but the model wasn't progressing as well as I would have liked. So that project stalled. But now I think this tower would be perfect for a 3D print noob like me.

Another deciding factor is that I still have the drawings I made for the brass model. All I have to do is import these drawings into a 3D program and build the 3D model over it. There are many 3D programs out there that are well suited (and cheaper) for modeling structures for a 3D print, but I will be utilizing 3D Studio Max for this project. By profession I am an animator with years of experience animating with 3D Studio Max. So its a logical choice for me. And its already installed on my computer.

Some of the details won't print well and so have been omitted, such as the awnings and the stirrup steps. These will be added afterwards. I did include pilot holes for the stirrup steps up the post, we'll see how well they print out. The post is hollow so that wiring for lighting could be run up from the base to the tower. The roof is removable so that the interior can be painted and detailed and an occupant added (the most important part!). 
There has been a flurry of discussion about 3D printing on a Yahoo Traction Modeling group lately. And after carefully weighing what folks had to say about the quality of different 3D printing companies, I have decided that since this is my first model and I want to see how much of the detail shows up on these prints, etc, I'm going to go with a company that is the least expensive but yet still has decent quality. So I put in an order with Shapeways (White Detail). When the model comes back, I'll see whats working and what isn't, make adjustments to the 3D drawing, and then place an order with an expensive, excellent quality company. Yes sir! An expensive, excellent quality company!

Dandy