Showing posts with label weight. Show all posts

Monday, May 04, 2026

#135 ~ Right Turns Only

No. 135 runs like a dream—until it meets a left-hand curve.

After a fair bit of troubleshooting, adjusting, and modifying, I’ve finally made some progress. The car can now negotiate the right-hand curves without much trouble.

But the left-hand curves? That’s a whole different story.


#135 runs beautifully in most respects, it’s smooth, steady, and reliable. It just refuses to cooperate when it comes to left-hand turns.

To get a better look at what was going on, I set up a camera trackside and ran the model past it. Watching the footage back gave me a clearer picture of the problem:


What I’m seeing is the car starting to climb the rails on those left-hand curves. That leads me to think a bit more weight might help keep it grounded and tracking properly.

The challenge is figuring out where to put that weight. I’ve already packed quite a bit into the roof, and I’d really prefer not to load up the passenger area if I can avoid it. So now it’s a matter of getting creative and finding a solution that works without compromising the look of the model.

But that’s part of the fun, right?

Yes sir! ~ It's all part of the fun!

Dandy


Monday, November 21, 2022

#135 ~ Weights & Measures

 Heavy Models Make For Good Electrical Contact With The Rails.

Since the Weights are Big- Now is a Good Time to Figure Out Where They Should Go...

...before adding interior lighting and threading the wires everywhere.


The ceiling of the car seems to be the most logical place for the decoder and weights since the floor is full of motor and power trucks and interior details. 

Since the weights have to fit between the car ends and trolley pole bushings- Now is a good time to install the bushings so I can determine just how many weights I can fit there.

The bushings were tinned with solder before adding the weights, being sure to use a heatsink so as not to melt the plastic.

The auto parts store is a great place to get 1/4 oz weights. I was able to fit 4 of these 1/4oz tire weights between the car end, pole bushing and above the windows.  And another 4 on the other end of the car, for a total of 2 ounces. I painted them black to help them not be so conspicuous. Because the roof is arched the weights won't lay flat. So I slathered the edges of the weights with hot glue and squished them into place.

Now you would think that while adding the pole bushing I would have also considered the pole hold-down hooks since they too penetrate the roof.  But no. I forgot. So now I gotta figure out how the add them with those big ol' weights glued in tight right where the hold-down hooks come through. But that will be for next time.

The weights are well hidden up in the tall roof and not so visible trackside.  And now the car has some nice heft to it.

Yes sir! Hefty!

Dandy

Monday, March 15, 2010

Birney Project ~ A Weighty Situation

Adding Weight to the Birney Car 

The weights I used are those kind that you see that come in a long strip with double sided sticky tape on one side. They are usually divided into sections that can be broken off anywhere at 1/4oz increments. They are usually available at your local model train shop for weighting freight and passenger cars to NMRA standards. I was able to fit 4 of these 1/4oz weights for a total of 1oz added weight.

Location of weights
1. Cut and fitted to clear the motor frame and filed to conform to the curve of the end of the car. Then epoxied into place under the floor.
2. Trimmed to fit under the roof in the sub roof cutout.
3. Filed to conform to the curve of the end of the car. Then epoxied into place under the floor.

Weights 1 & 3 had their double sided sticky tape removed so that they can be slid under the pilot. There they were epoxied in place. Here you can see where weight #1 was trimmed to clear the motor mount.

Weight #4 had to be fitted inside the front of the car. Yes, the car has a "front and rear" now. Originally it was designed to be double ended, but I ran into this problem. As you can see, Birney the motorman has been removed from the seat assemblies and is now fitted into the front of the car.
Weight #4 was notched to fit around Birney the motorman's seat.

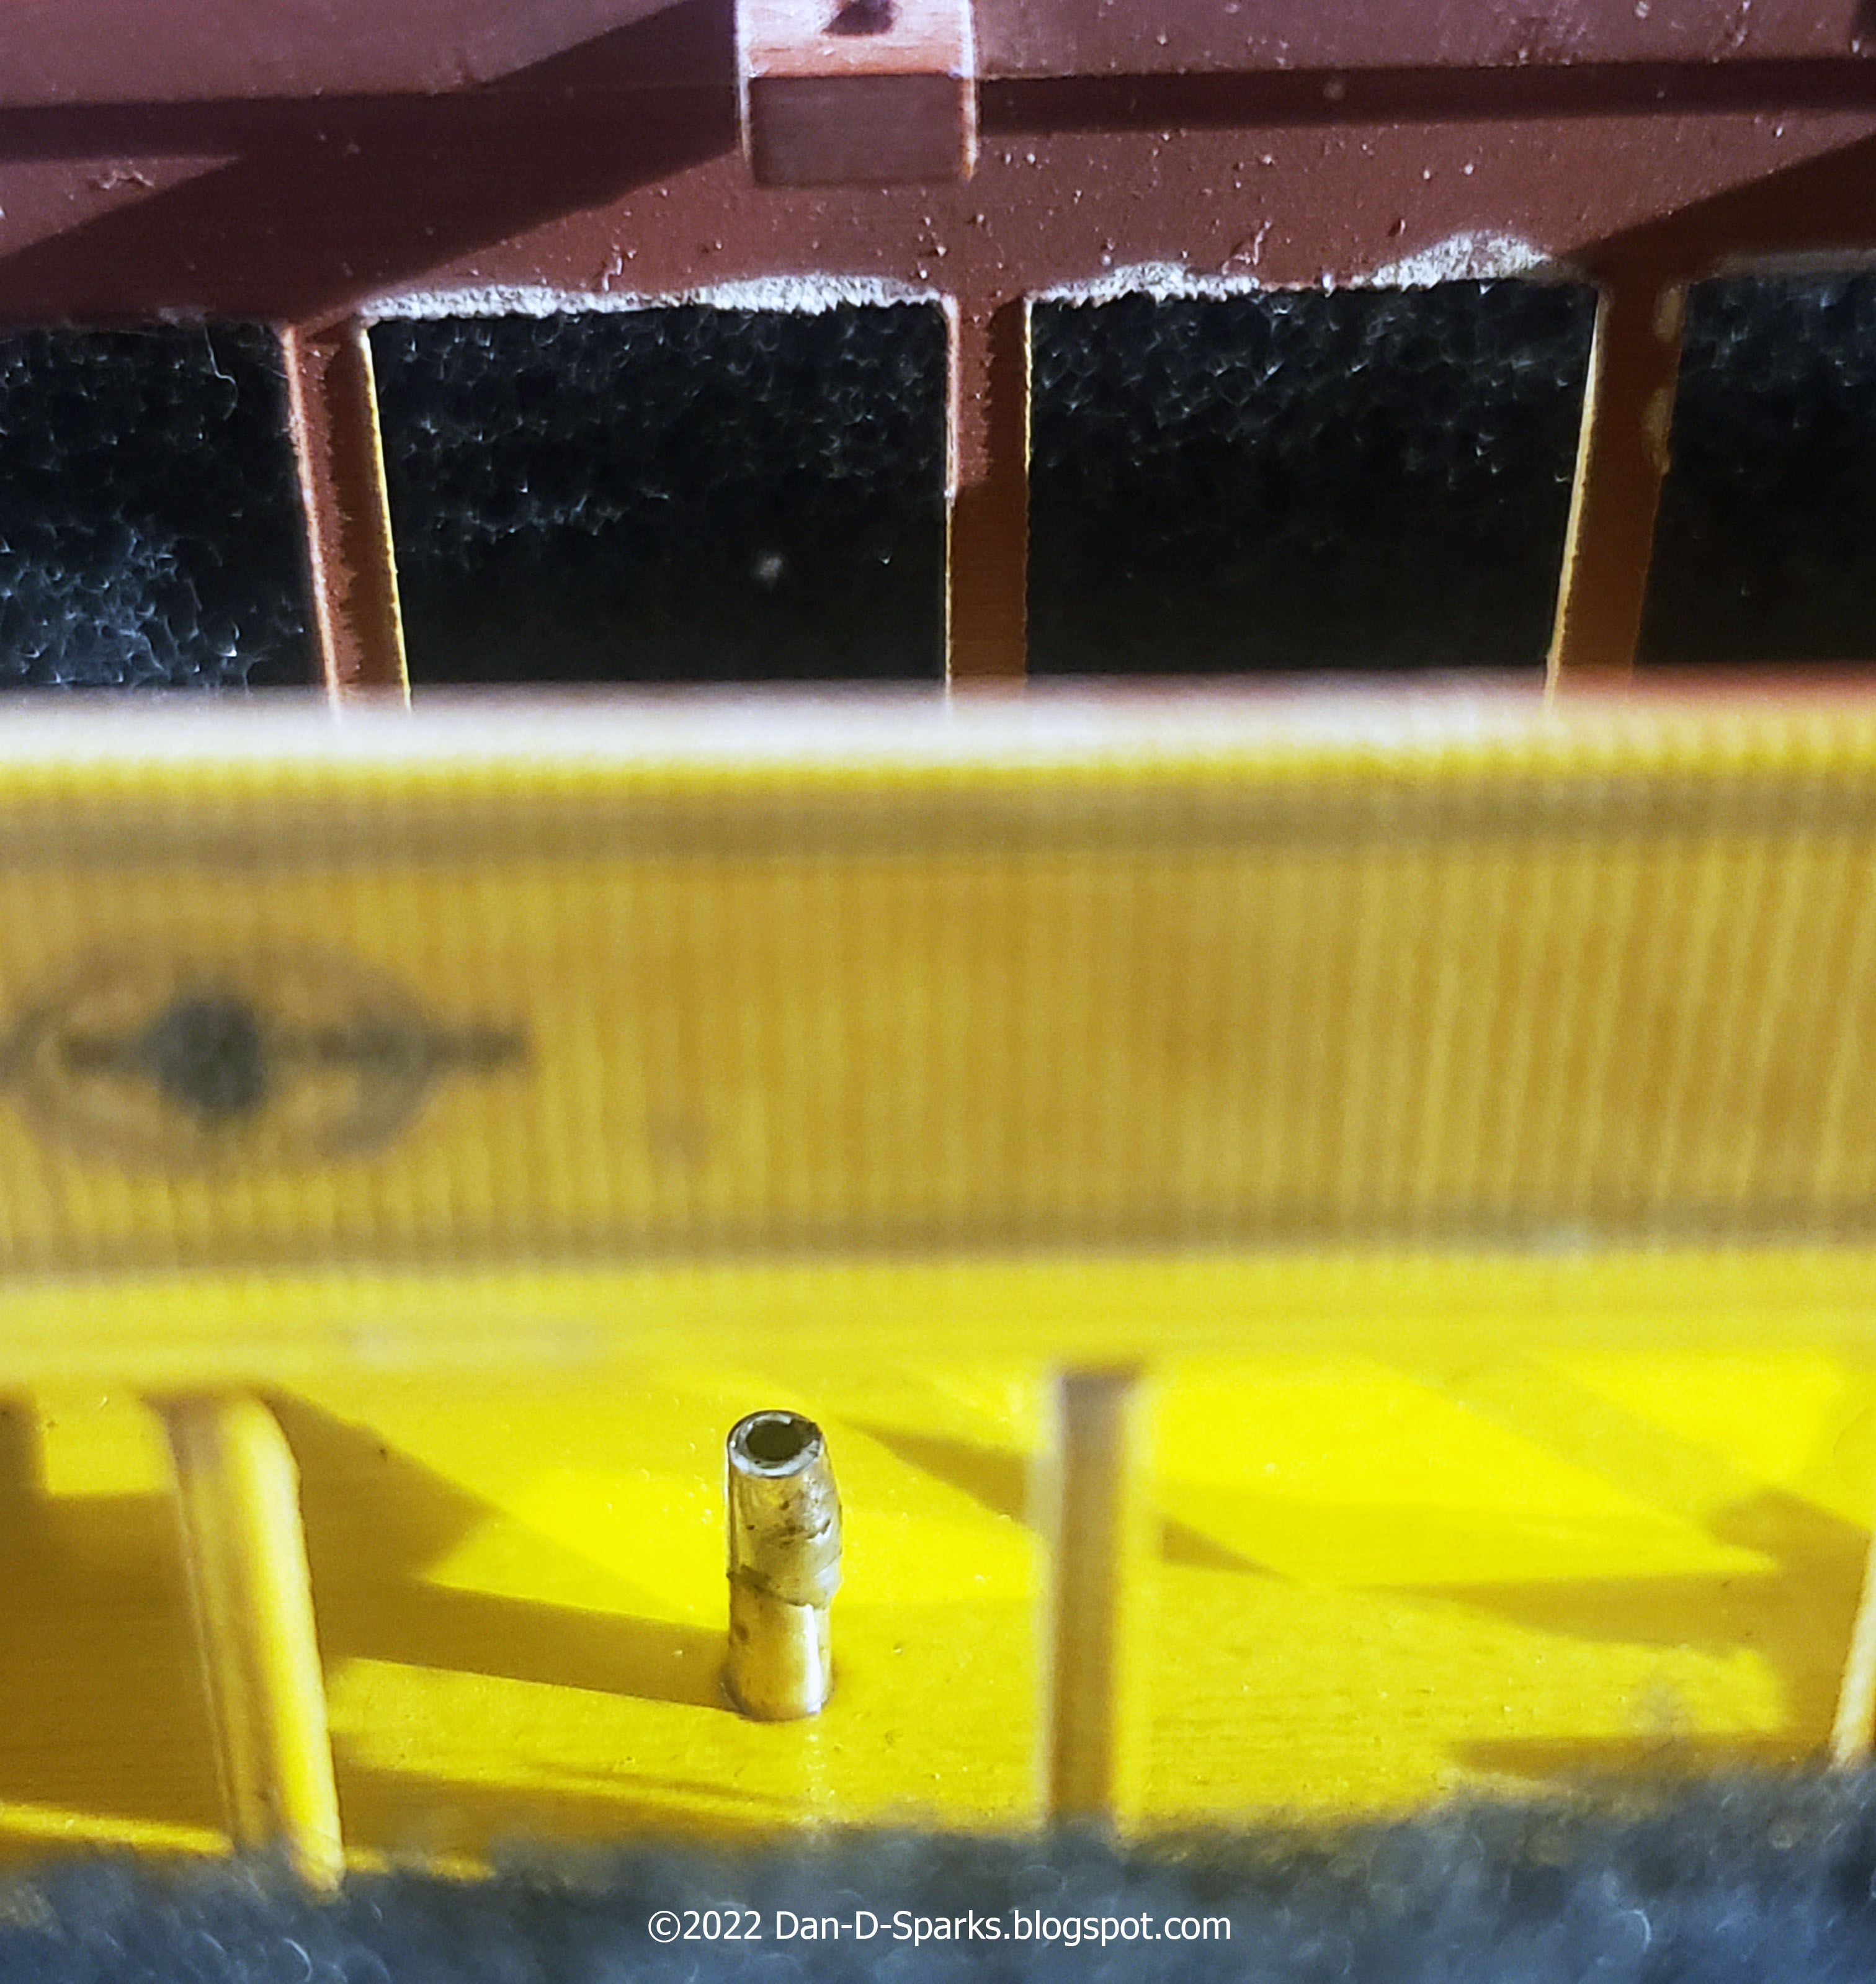
The top of the weight had to be ground out to clear the headlight bulb and wires. Then it was painted black and glued into place.

After all that effort I was able to add an additional 1oz to the car bringing it to a total of just over 5oz. Doesn't sound like much but that is another 25% added to its weight. And the car is suprisingly heavy when you pick it up. Yes sir! Quiet heavy.

Dandy

Wednesday, March 10, 2010

Birney Project ~ Phun With Fysics

 After a test run on the Southern California Traction Clubs city modules, the drawbacks of single truck trolleys became apparent on ol' 301.

Sir Lord Dr. Isaac Nudeton Esq III PHD.

Nudeton's 3rd law of force states: "The force of the trolley pole pressing up against the overhead contact wire is equal and opposite to the force pressing down on the trolley car.". Who knew Nudeton was a trolley fan!
Well that force was evident on the Birney car. The pole pressing down on the back of the car coupled with the fact that there is a weight behind the decoder puts more force on the back wheels than the front wheels. So the back wheels become in effect, a fulcrum. In other words, the trolley wants to do a wheely.

And a trolley that wants to do a wheely doesn't want to take curves, it wants to keep going straight.

So the solution is: More weight in the front of the model, get those front wheels down so that the flanges will help the trolley get around corners.

So after making the bold statement of "There is officially no more room for anything else in this model!", I have to find more room for more weight in the front of the model. Yes sir! Have to find more room!

Dandy