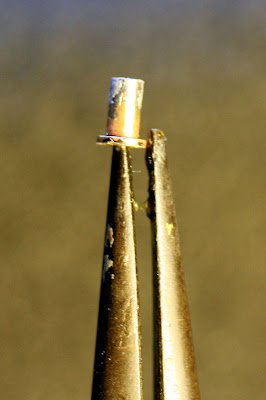
I find soldering the wire to the trolley pole base a little tricky. The wire attaches to the brass bushing which inserts into a plastic insulator. The wire can't be soldered on ahead of time because then the bushing would be too fat to fit through the plastic insulator. The only solution I've come up with so far is soldering it in place fast before the plastic has time to melt.
The bushing is prepared ahead of time. First by roughing it up with a Bright Boy so that its clean and etched, ready to accept solder.
Then the bushing is tinned (hot solder flowed on). I had to keep it thin so it could still be slid through the plastic insulator.
Then the wire is shaped and tinned as well.
Then I line everything up, add some flux and then hit it with the hot iron. Hopefully the wire and bushing will melt together before the plastic gets too hot. Remember to clean off the flux residue with some alcohol. Give the wire a tug to make sure a good connection has been made.
Each wire from the two bushings (double pole car) connect to one end of a
Micro-Mini Connector plug from Miniatronics (50-001). The other plug of the connector connects to each pole of the motor. To help keep wires organized and out of the way of moving parts, one of the plugs is glued to the top of the motor (above), and the wires are bent accordion style. A rubber band secures the plug in place while the glue dries.
Testing the electrical connections is a simple matter of stuffing one power pack lead into the hole of one of the bushings and the other lead into the other bushing. Give it some juice and (if all goes well) the car should roll across the work bench (which it did!). So now were ready for the test track. Yes sir! We are ready for the test track!
Dandy


